Device Sidebar
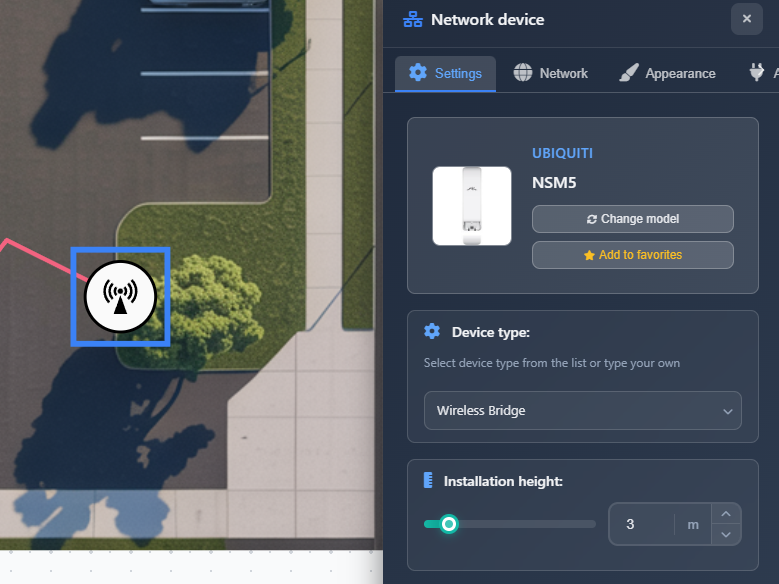
The Device Sidebar appears automatically when you select a network device in your project. It provides comprehensive settings and configuration options organized into multiple tabs: Settings, Network, Appearance, and Accessories. For PIR devices, an additional FOV Configuration tab is available, and devices with technical specifications show a Specifications tab. This sidebar is your primary tool for configuring device properties, network settings, and visual appearance.
When to use this
- When you need to configure device settings and properties after adding a device to your project
- When you want to assign a specific manufacturer and model to a generic device
- When you need to set IP addresses and network configuration for devices
- When you want to customize device appearance, icons, and display names
- When you need to add accessories or configure FOV settings for PIR devices
Settings tab
The Settings tab contains the most important device configuration options, including device selection, type configuration, and installation height.
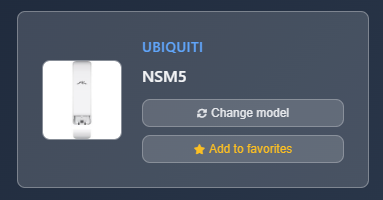
Selected device
The top section displays information about the currently selected device:
- Device image – Visual representation of the device model (if a model is selected)
- Manufacturer and model – Shows the manufacturer and model name, or "Unknown" / "No model selected" if not yet configured
- Change model button – Opens an overlay dialog allowing you to select a device from the catalog or create a custom device
- Add to favorites button – Adds the device to your favorites list for quick access from the left sidebar Favorites menu
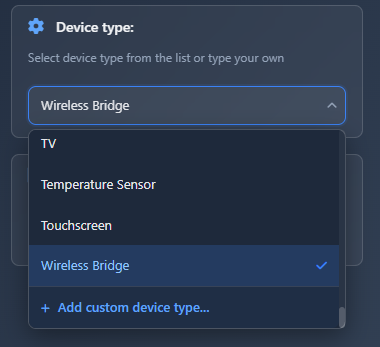
Device type
The Device Type dropdown allows you to select or create a device type. You can choose from predefined device types (such as Router, Switch, Access Point, PIR, etc.) or add a custom device type by selecting "+ Add Custom device type.." from the list. When you change the device type, the icon and default settings are updated accordingly.
WARNING
Changing the device type may reset some device specifications. You'll be prompted to confirm if the device has existing specifications.
Installation height
The installation height setting determines how high the device is mounted. Adjust this value using the slider or input field. The height is measured in your project's units (meters or feet) and may affect FOV calculations for certain device types like PIR sensors and will be used in cable length calculations.
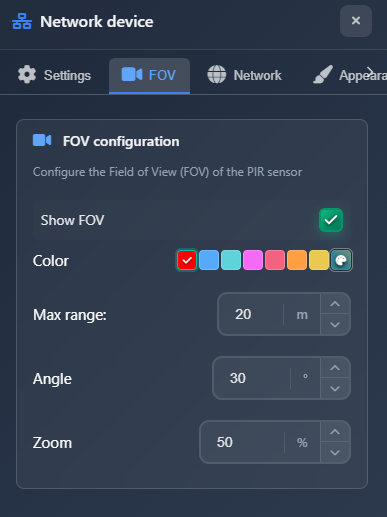
FOV Configuration tab (PIR devices only)
For PIR devices, an additional FOV Configuration tab is available to configure the device's detection field of view.
- Show FOV – Toggle to show or hide the FOV visualization for the PIR device
- Color – Select a custom color for the FOV visualization
- Max range – Set the maximum detection range of the PIR sensor
- Angle – Configure the detection angle (1-90 degrees)
- Zoom – Adjust the zoom level (1-100%) for the detection area
Network tab
The Network tab contains network configuration settings for the device.
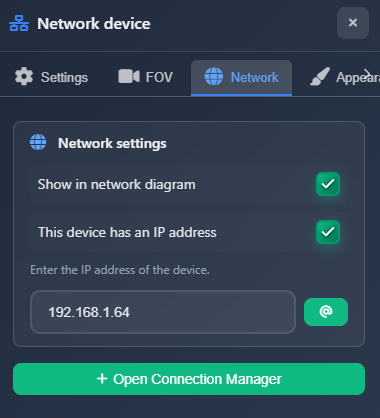
Network diagram settings
- Show in network diagram – Toggle to include or exclude the device from network diagrams. This option is only available if the device has no connections.
IP address configuration
- This device has IP – Checkbox to enable IP address configuration for the device. When enabled, IP address input fields become available.
- IP address – Enter the device's IP address in the input field. Next to the input field, there's an "@" icon button that automatically assigns the next available IP address from your network configuration.
- Connection Manager button – Opens the Connection Manager, which allows you to manage connections and network settings for multiple devices at once.
The application validates IP addresses and will warn you if the address is invalid or already in use by another device or camera.
Appearance tab
The Appearance tab controls how the device is displayed on your plan and in reports.
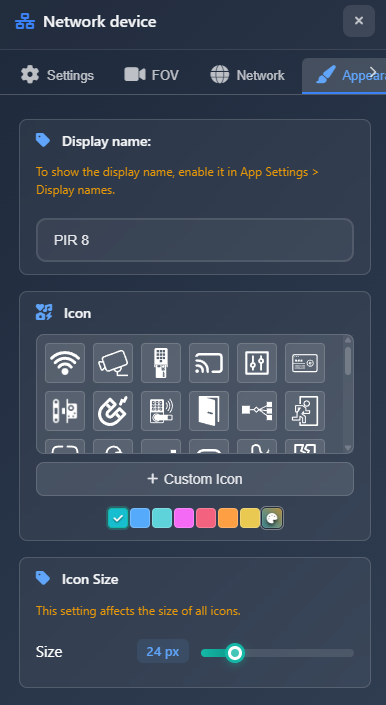
Display name
The Display Name is the device name shown on the plan when the App Settings > Display Names option is enabled. This name is also used in lists and reports, making it important for documentation and project organization.
Icon
Configure the device's icon and color. You can choose from various icon types and set a custom color. The icon and color help visually distinguish different device types in your design.
Icon size
Adjust the size of device symbols on the plan.
WARNING
This setting affects the size of all devices (cameras and network devices), not just the selected device.
Accessories tab
The Accessories tab allows you to add accessories from the catalog to your device.
Click Add Accessory to open a search dialog. The search is pre-filtered to find accessories compatible with your device type (for example, HDD accessories for storage devices). You can browse and select accessories to add to your device.
Once added, accessories appear in a list showing the manufacturer, model, and image. You can remove accessories by clicking the delete button on each item.
WARNING
Not all accessories are mapped in the database. If you can't find an accessory using the filters, you can remove the filters and search by name instead.
Changing device model
To change a device's model, click the Change model button in the device header. An overlay dialog appears with two options:
- Select from catalog – Browse and select from over 16,000 devices in the database
- Custom device – Create or load your own custom device configuration
After selecting a new model, the device will be updated while preserving its position and other settings in your project.
Tips
- Use the Change Model feature to quickly swap device models while preserving position and other settings
- Add frequently used devices to favorites for quick access when adding new devices
- Set the device type first, as it determines available options and default settings
- For PIR devices, configure FOV settings to accurately represent detection coverage
- Use the "@" button to automatically assign IP addresses and prevent conflicts
- The Display Name is used in reports and documentation, so choose descriptive names
- Icon size affects all devices, so adjust it based on your overall project needs